
THE 500 RULE
A HOW TO IN ASTROPHOTOGRAPHY

INTRODUCTION
Hi gang! If you follow me on Instagram or Twitter you’ll find no shortage of images captured of the night sky. It’s TRUE! Photographing the beauty of the night has to be one of my favorite forms of photography. Little known fact, my Mother was the one that got me so into star gazing back in 1986 when Halley’s comet came back around in our sun's orbit.
Crazy to know that the next time Halley’s comet will make its return will be in 2062. I hope I’m still around for that! Before we get started if you're interested in learning more about astrophotography I hold in the field workshops monthly and do 1 on 1 class as well explaining the basic process of night photography including the 500 rule and much more. Click here to check out my workshop and expedition page.
So let me begin first by explaining what probably is the most important subject and easy to remember formula in astrophotography that you need to wrap your head around first before packing up that backpack and moving forward onto your next big adventure to capture the big and beautiful Milky Way. The ever so popular and misunderstood "RULE OF 500."
WHAT IS THE RULE OF 500
So without getting too crazy and technical which sometimes, I find to even add more confusion to the matter, I'm going to break it down as easy as I can explaining it to you as I would to anyone else that would come out with me on any of my astrophotography workshops.
The 500 rule is a simple formula to get a ballpark exposure time with the camera and lens set up of your choice. This formula, if done correctly should or get you close to that pin-point, razor-sharp stars without any trailing in your Milky Way photos or images of the night sky.
I mention “should” and “get you close to” for a specific reason. Cameras these days are advancing fast and are quickly becoming megapixel monsters such as the Sony Alpha 1 with 50 megapixels and the Sony a7RIV with 62 megapixels.
This is not a bad thing by any means. But with more pixels comes more detail you will see. With that said, if you do zoom into an image greatly taken with one of these cameras you might see some minor trailing. This issue is easily corrected which will be revisited after the 500 rule technique is explained.
HOW TO USE THE 500 RULE
It's fairly a very easy thing to remember and pull off. You take the number 500 and then divide it by the focal length of your lens. This will give you the longest exposure time before stars start to trail or blur.
For example; let's say you're taking a shot with a 16mm lens on a full-frame camera. 500 / 16 = 31.25 seconds, which you can round to 30 seconds. Always run down to the nearest zero.
(NOTE WHEN USING A CROP SENSOR CAMERA YOU HAVE TO MULTIPLY THE CROP FACTOR FIRST BY THE FOCAL LENGTH OF THE LENS BEFORE DIVIDING THAT NUMBER BY 500.)
So if you caught on to the trick by now every lens will have a different length of time you can shoot before you get that unwanted star trailing in your photos. Below listed are the crop factor values for a few popular camera brands.
CAMERA CROP FACTORS
Canon = 1.6 crop factor (EXAMPLE) 1.6 x 16 = 25 | 500/25 = 20 SECONDS
Sony & Nikon = 1.5 crop factor (EXAMPLE) 1.5 X 16 = 24 | 500/24 = 20 SECONDS
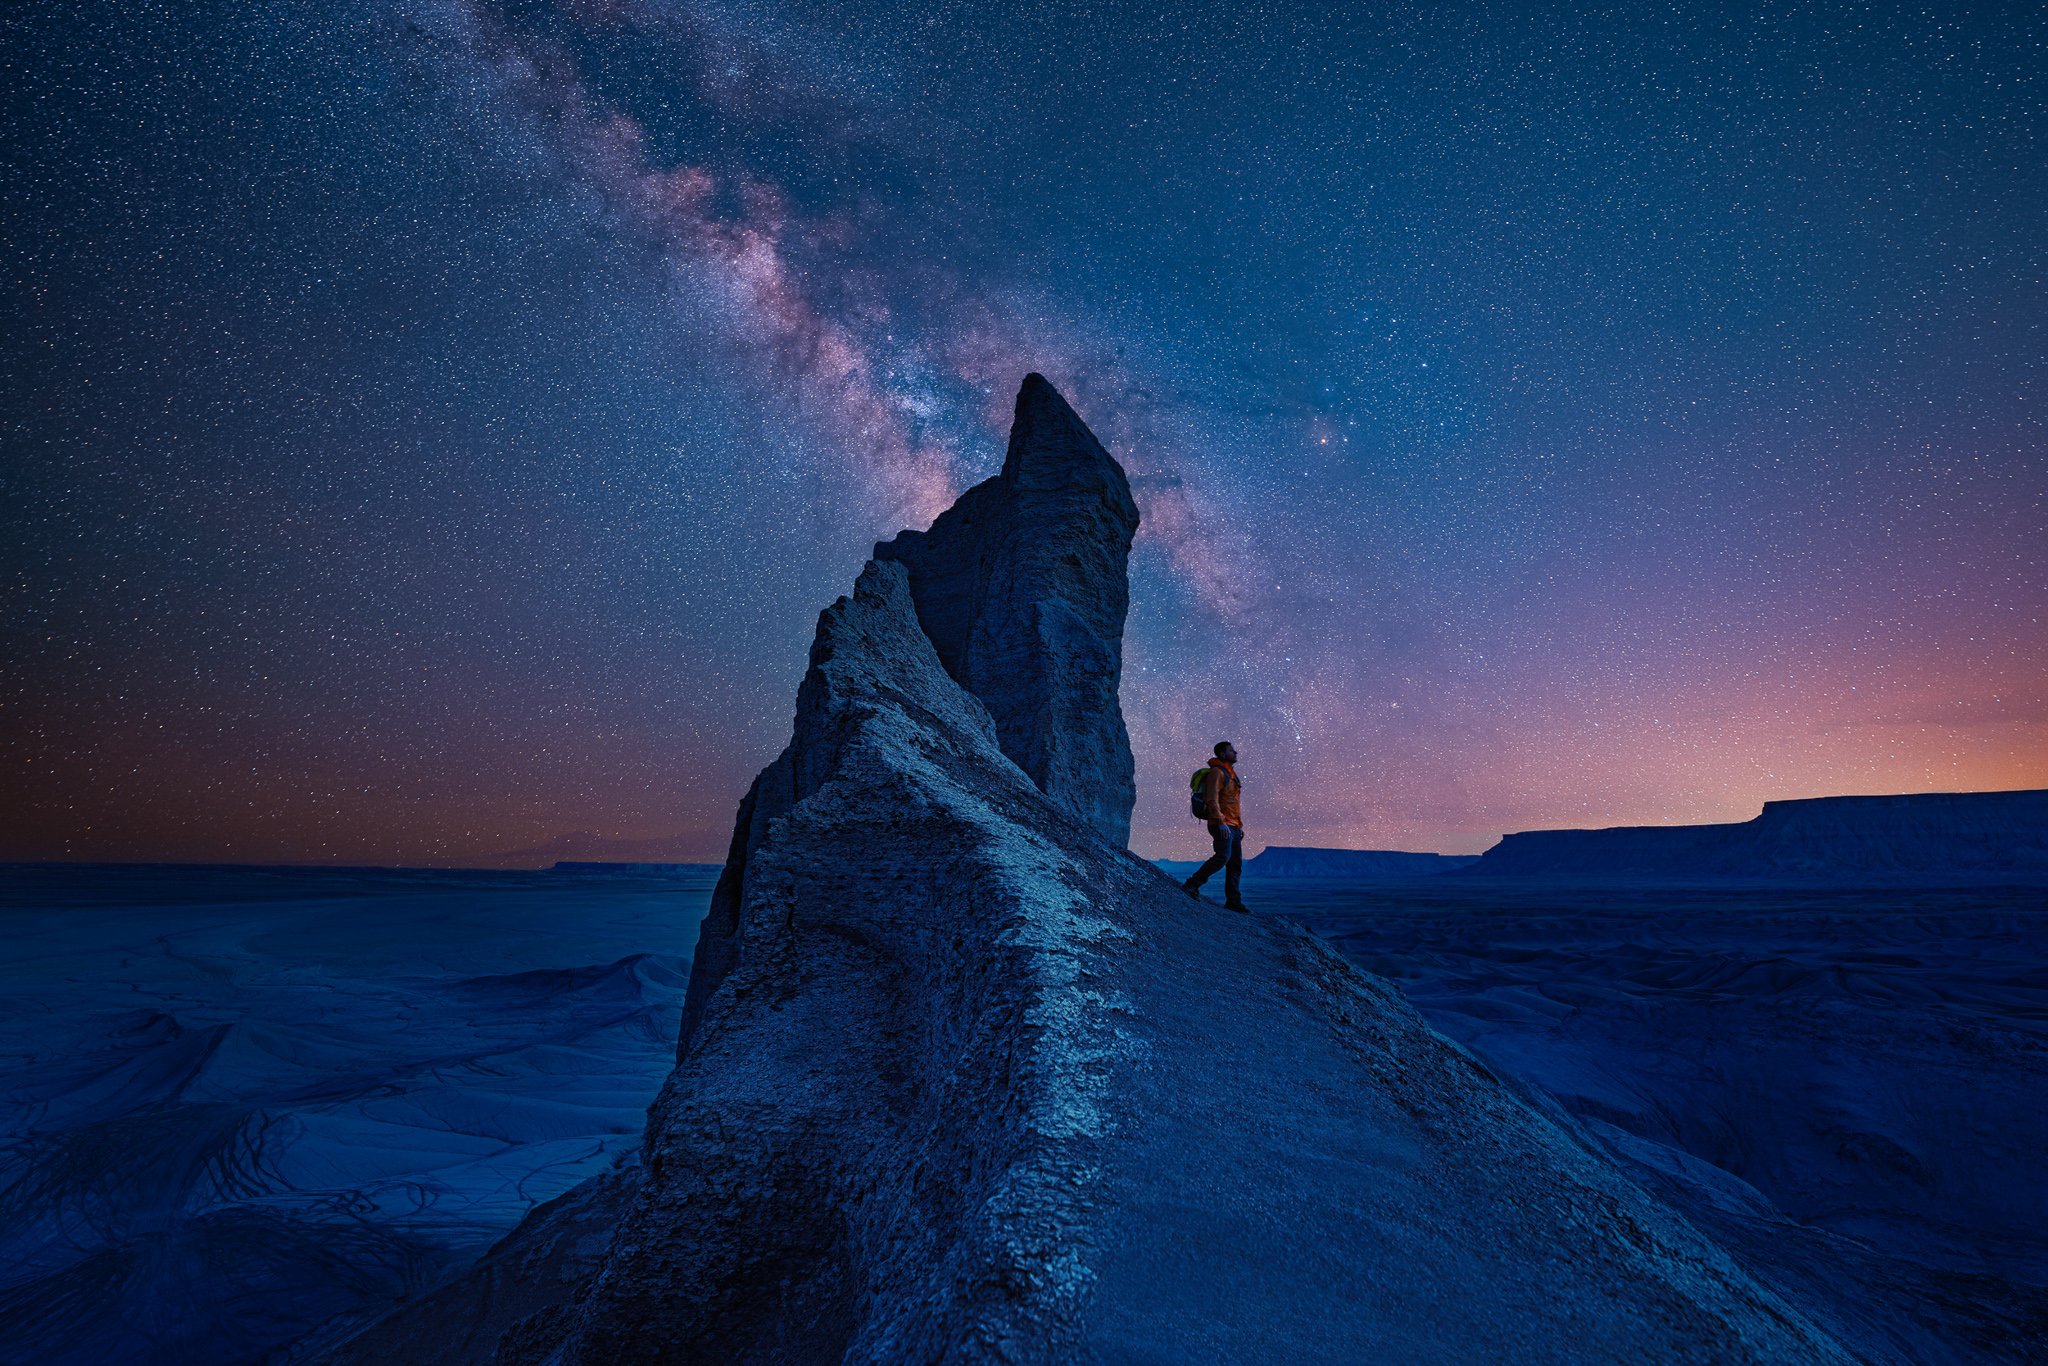
The photo above was captured with the Sony A7SIII / Sony G 35mm f1.4. / Kase 100mm Wolverine Astroblast Filter. Camera settings - 13 seconds / f2.0 / ISO 3200.
Using the rule of 500, the calculation is 500/ 35 = 14.2857143. This would give me an exposure time of 13 seconds due to me rounding down to 13 since I have no 14 seconds on my shutter dial. * Always round down. If you notice there is no star trailing. Other than the glow effect that the filter is producing the stars resemble pinpoints. I will cover the use of filters in the field of astrophotography on a future write up.
If I was to shoot this same image disregarding the rule of 500 at a longer exposure you might be sure to see some type of star trailing. Especially coming from a camera with more megapixels which would ultimately reveal more detail if you start to zoom in close.
As mentioned above, the more megapixels you have the more detail you will see if you zoom in. If you do notice some minor trailing and this is a concern to you decrease your shutter speed slightly until you achieve satisfying results.
A CALCULATION CHART FOR POPULAR FOCAL LENGTHS FOR FULL FRAME CAMERAS. (All calculations was rounded down to the nearest zero.)
12MM = 41 SECONDS
14MM = 35 SECONDS
16MM = 30 SECONDS
20MM = 25 SECONDS
24MM = 20 SECONDS
28MM = 17 SECONDS
35MM = 14 SECONDS
50MM = 10 SECONDS
CONCLUSION
So there you have it. That wasn't so bad, was it? A very easy technique to live by to achieve those awesome sharp stars in your milky way and night scape photos. Another form of astrophotography that I find fascinating is star trail photography. I will cover this topic in an upcoming write-up that does and doesn't involve a longer exposure time depending on how you go about it.
I will mention that my personal favorite technique these days is a photo stacking method using a free program for the Mac OS called StarStaX. For the sake of keeping it short and simple. I set my interval shooting function on my Sony a7sIII camera to capture 240 images. This will basically take one photo after the next until the final photo is completed.
This allows me to create not only a beautiful star trail image but a time-lapse as well. These 240 images captured would result in a 10 seconds time-lapse sequence on a 24fps video timeline.
A 240 image stack using the free StarStaX software program. Captured with the Sony a7sIII & Sony Gm 14mm f1.8.
I hope you enjoyed this write-up and can take away something to lift your night photography to the next level. As always, if you have any further questions please don't hesitate to drop me an email.
Also, visit my workshops page for an up-to-date schedule of my 2022 events. I also do provide 1 on 1 and private group workshops. Contact me here for pricing and availability.
If you are considering purchasing any of these products. Please do use the links provided on my site. They don’t cost you a penny and surely do help out to keep bringing the inspiration of the ocean and the outdoors back home to you.
Thank you all so much for the support. Till next time happy shooting!